Delving inside a Dell laptop
My girlfriend's laptop decided it didn't want to work properly anymore. The first issue was Microsoft Word insisted that opening a document was simply too much to ask, so caused a blue screen of death. This was relatively easy to fix (Install all updates, run a repair).
The second issue, was after a short while, the screen would go blank, and that was it. Laptop off, finished for the day.
Apparently a laptop without a working fan is a laptop which will overheat and shut down suddenly and without warning (Unless it is on your lap, in which case the warning is the burning sensation). Luckily Ebay has a seller for everything, and I was able to get a new fan. Now I just need to get into the laptop and switch the fans. EASY.
The first step was to remove the charger, remove the battery, and then press and hold the power button to ground the laptop. You then remove one screw to release the DVD drive.
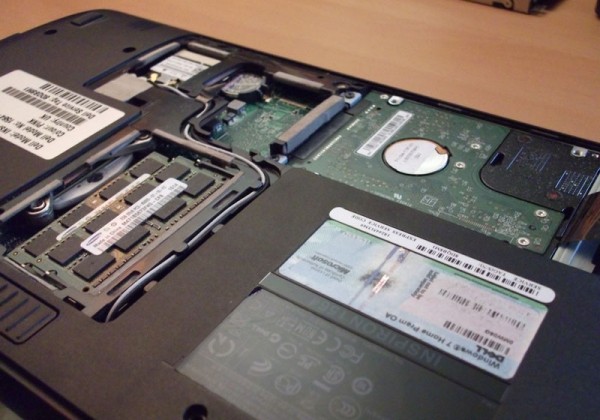 The next step is to start removing all of the panelling. This first image shows the least frightening panel to remove, which exposes the RAM, hard drive and wireless card.
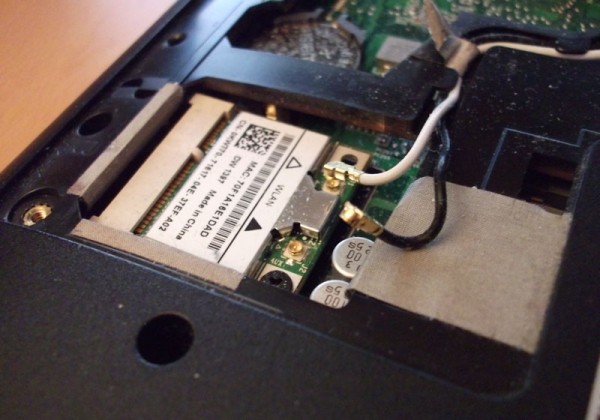 The wireless card needs to be taken out. The wires then need to be carefully moved through the laptop casing to clear them out of the way.
 The next step is to remove the power button panel. This is probably the most flimsy part of the laptop. Once the panel is loose, the power button needs disconnecting.
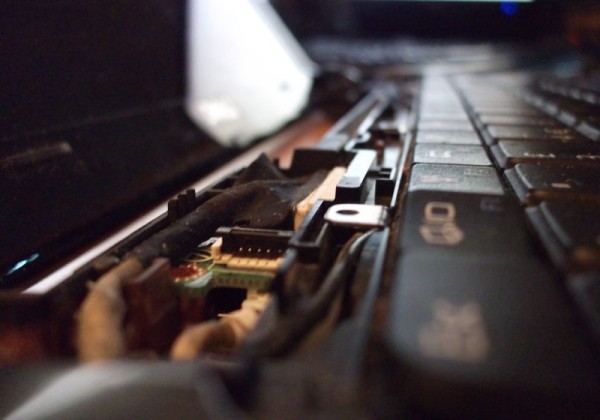
 The keyboard is next. At this point I was hoping we'd start to see more of the inside of the laptop. But not yet. Instead we are just greeted with further pieces to remove!
 To remove the panel the keyboard rests on, there are 20 screws to remove. 14 from the bottom of the laptop, 6 from keyboard area. But after undoing the screws, and very carefully pulling the cover off, we are finally in!
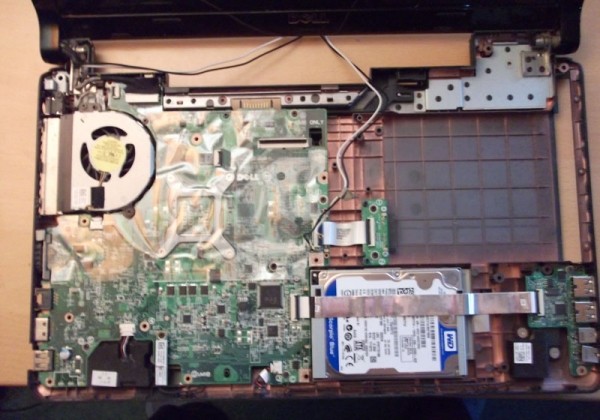
The reason for opening up the laptop is simply to look at, and potentially change the fan. After unscrewing a total of 31 screws, we have access to the two screws to remove the fan. Upon removing the fan, it was pretty sure why it wasn't working
 I think the quite large bit of fluff on the left hand side of the fan is most likely the cause of the fan not working and the laptop overheating.
I decided to put the new fan in anyway, on the off chance the old one was actually broken as a result of the blockage. After putting the laptop back together, it is back in working order! Who needs an extended warranty...
Posted on the 21st March 2012 at 9:53pm.